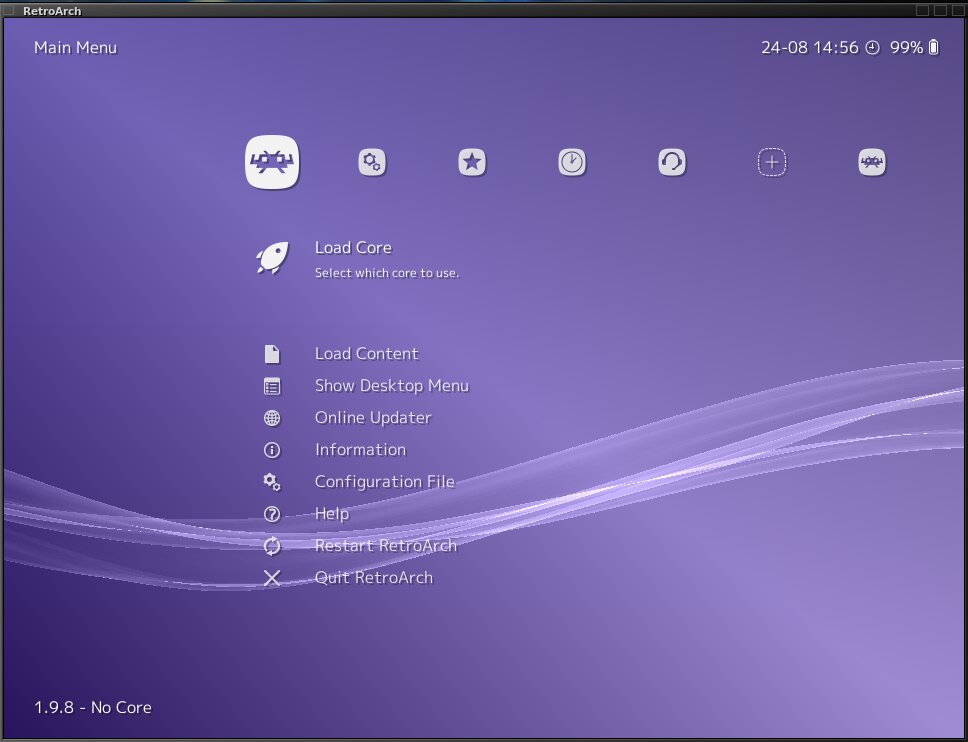
Intro
![]() RetroArch is an
RetroArch is an ![]() Arcade Emulator
Arcade Emulator ![]() supporting around a hundred of different machines like Nintendo, Sega, or Sony Playstation, everything integrated into a single place:
supporting around a hundred of different machines like Nintendo, Sega, or Sony Playstation, everything integrated into a single place:
![]() Elive made an own special build of RetroArch very well customized that includes:
Elive made an own special build of RetroArch very well customized that includes: ![]()
- A special RetroWave look-n-feel design

- Last version available!
 (the one from Debian was too old to be used, and we want PS2 & GameCube support!)
 - It will be always updated to the last version

- Customized special and optimal settings by defaults, wohoo!

- As most ready-to-use as possible, like everything else in Elive

Jump to the First setup! 

Some of its best features are:
- Many emulator machines supported
- Everything in a single application, no more many emulators installed
- Global configurators for all your machines (use the same gamepad remappings for all of them)
- Same features for all (saved states, rewind a game, etc)
- A single place to have all (confs, BIOSes if needed, saved states, playlists of games)
Story
After having played with Live distros like Lakka (official live os for RetroArch) I found it difficult to do many things, like:
- Some games / emulators were not playing, and since I was not in my own system was difficult to know why or to do many things, for example, I was not able to access any terminal, nor ssh, nor console, or not even to boot the system in verbose debug
- I needed to shut down entirely my own system to be able to run it
- Was much more difficult and slow to transfer my games and copying them to the USB (instead of letting it scan them on my system and just use them)
So no more specific distros for specific purposes, Elive again embraces its very "a distro for everything" concept
First Setup
In case you don't have yet the special Elive build of 'retroarch' installed in your system, run: api retroarch
Downloading the needed contents
![]() This is very important:
This is very important: ![]() before using it for the first time you need to set up a few things, like downloading some required content, so let's start:
before using it for the first time you need to set up a few things, like downloading some required content, so let's start:
Bios files
Some emulators may require to have the BIOS files to run, if you don't want to lose time there's a .zip file containing many of them in archive.org, you simply need to copy all these files in your ~/.config/retroarch/system/ directory. This step is optional and many known emulators like Nes, Snes, PS1 doesn't require a bios to run.
RetroArch files
In the first menu you will see the Online Updater option, enter it and download all of these:
- Update Core Info Files: This is needed to download later the Core files that we will need
- Update Controler Properties: Some default settings for known gamepads
- Update Databases: Needed to have a list of known existing games to be able to add them later
- Update Overlays: Improves the interface
- Update Cg Shaders: For video improvements
- Update GLGS Shaders: For video improvements
Download the cores that you need, select the first option 'Core Downloader' and select all the cores of the Machines that you want to support. The cores are like the different emulators you want to have.
Reload: Press the backspace key to go back to the previous menus (you can see and define all the application's hotkeys too), and select Restart RetroArch
Extra Configurations 
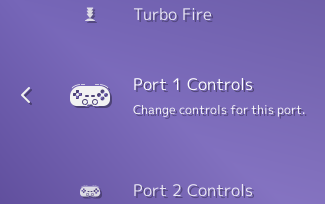
Plug your GamePad device ![]() and select the option to configure it, in the second column where says Settings go to Input, scroll down until Port 1 Controls, select the device RetroPad with Analog if you have them or just RetroPad if is a simple gamepad without analog button joysticks. Then select Set All Controls to remap all your buttons (unless it was already perfectly preconfigured), you may need to run this tool twice or redefine a few ones manually. Later, don't forget to click on Save Controller Profile.
and select the option to configure it, in the second column where says Settings go to Input, scroll down until Port 1 Controls, select the device RetroPad with Analog if you have them or just RetroPad if is a simple gamepad without analog button joysticks. Then select Set All Controls to remap all your buttons (unless it was already perfectly preconfigured), you may need to run this tool twice or redefine a few ones manually. Later, don't forget to click on Save Controller Profile.
Maybe you need a few tweaks more but for now, It's time to add some games:
Adding Games
Having your Games already organized in beautiful directories, you just need to let RetroArch scan them, but first some notes:
Saving space:
Compressed games are supported so we recommend first having them compressed so they will use less size on your disk, this is especially good if you have a large collection of games, 7z format includes a very strong compression, so you can run in your powerful Elive terminal command like this:
for i in *nes ; 7z a -sdel "$i.7z" "$i"
this command will create a .7z compressed file from every .nes found and will delete the original one after that
Important Notes:
- Some cores cannot read compressed files, some can, so first try that
- 7z files saves the most of space, but they are slower to decompress too, you may not want to use 7z for files more than 300 mb (use zip instead, which is also more compatible)
- Don't compress an already compress file, uncompress it first, so its important that the original file will be kept untouched
Note: Some emulators may require a BIOS file to run, but the default settings provided in Elive will tell you if this is the case ![]() 'see later the section of BIOSes & settings'
'see later the section of BIOSes & settings'
Start the Scanning!
When you have your games well organized and structured, go to the option:
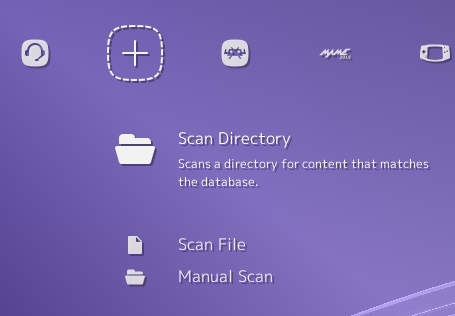
Select the directory where you have all your games and just hit <Scan This Directory>, wait that finishes
Generate thumbnails
Next, you may want to download directly all the thumbnails in one shot to have them directly showing up when browsing your games. Go to the first column Main Menu --> Online Updater --> Playlist Thumbnails Updater, and select all your playlists. Now, this is really beautiful! ![]()
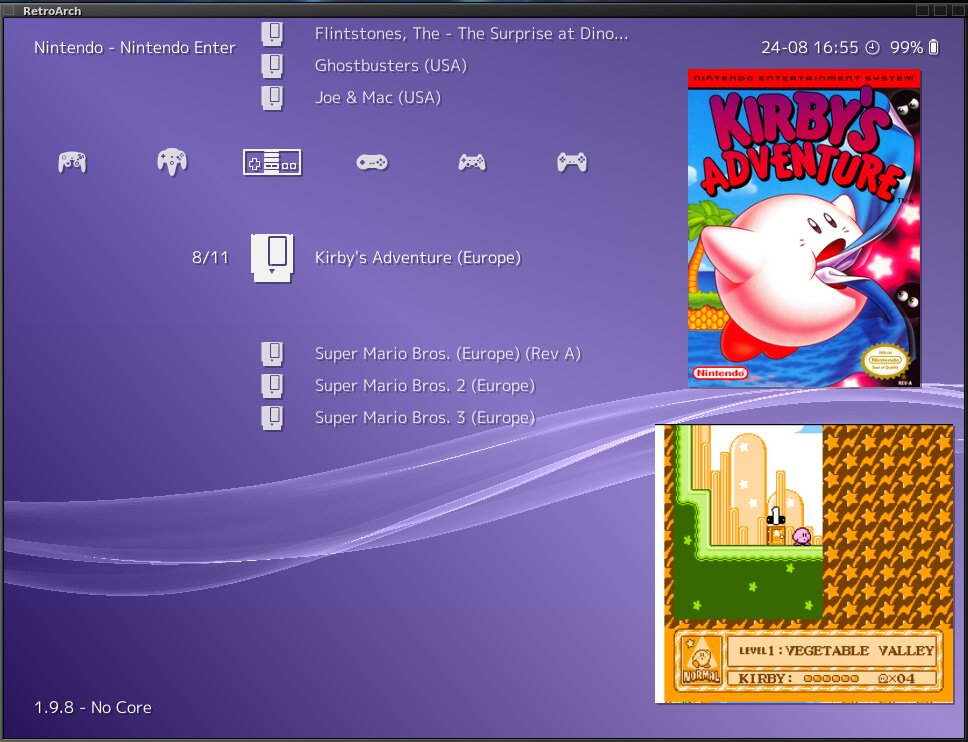
Tip: the own version packages for Elive includes the customization to have both the game cover and the thumbnail showing up, just like saving a screenshot of the saved states too!
After that, you should have all your games organized in sections, almost ready to be used!
Running Games
Let's try the first game and we will show a few tweaks needed, let's say you have the CTR game, so browse your collection of games and try to run it:
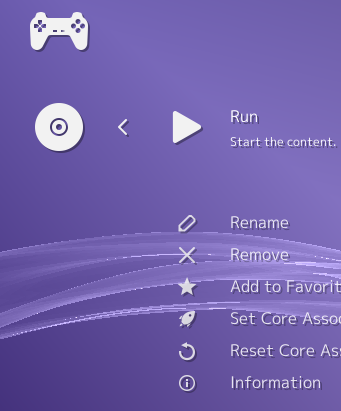
The first time you will run it, it will ask you which core to assign, note that every different core will have different features, some are faster than others, for example after switching to a different core I noticed that my GamePad directly featured vibrations while playing!
If you need an extra BIOS Firmware to run that machine, the default settings in Elive will tell you with a notification, some machines may need them
For now, seems like selecting PCSX ReArmed will directly work, now we need to select again the Run option to launch it.
It is possible that your gamepad doesn't work, so maybe you need to reassign some settings for each core that may not work with the default settings, press the key F1 key and the menu will appear, scroll until Controls and select Port 1 Controls, you may want to select standard or dualshock which may support vibrations, go back and press Resume to continue the game, it works good and this is the best control setting you can use, open again the menu and after to make sure it's correctly selected the option Save Core Remap File to set it permanently for all the games using this core.
Troubleshooting
If the game doesn't play:
- You may need to add a BIOS file, check the next Settings section for that.
- Run 'retroarch' from a terminal, special verbose lines are enabled in Elive and so you may encounter useful ERROR lines
- Search in google for "retroarch" and your core name, you will have the needed instructions.
- Sometimes you need the BIOS files
- Sometimes you need to hit F1 to open the menu and go to the settings of the core to make it running
If you try to play PS2 or GameCube games they are under development but if you see an error containing a GLIBCXX version issue that's because the cores are redistributable by the RetroArch team and they are building them with specific versions of Glibc (issue already reported), this may happen if you are using a version of Elive which is not yet using the Bullseye version of Debian as a base.
In the case of Atari800 (5200) you need to follow the specific libretro instructions, like adding a bios file and reconfiguring the core to select the bios to use.
More instructions for each core at Getting Started with Arcade Emulation - Libretro Docs
Hotkeys
There's a list of very useful hotkeys, you can redefine them in Settings --> Input --> Hotkeys
While playing:
F1 Opens the menu where you can change settings, save a state, etc... (also works by pressing the two analog buttons of your gamepad)
Space Plays the game faster, useful for pass some boring intros
e Slow motion: useful for when you are with a difficult enemy hard to destroy
F2 / F4 Save / Load a game state, wohooo!
f Fullscreen mode toggle
Esc (twice) Exit retroarch
q Quit game
r Rewind: Did you died? just rewind the game and try again! (this option may be needed to enable in your Settings --> Frame Throttle)
p Pause
n / m Switch visual shaders
Setting
Your settings are saved in your ~/.config/retroarch/ directory, there you have some different things:
- core: the place for all your cores info list and downloaded
- config: individual settings for example for cores, you can delete them if you messed anything with a core
- downloads: the place where RetroArch download contents, for example, BIOS or demo files
- playlists: the list where all your games are listed, sometimes there's ROM's that are not automatically detected or listed (but they works), so you may need to generate a playlist manually, for that you have better info in the official documents of libretro
- records / screenshots: you can make screenshots or video records of your games and they will be saved here
- states: the states saved with F2 / F4 of your games just like with their screenshots
- system: the place where the needed bios should be added, you don't strictly need them
BIOS Firmwares
Some emulators may require a BIOS, but not strictly, there's a BIOS RetroArch Pack available on archive.org which you can copy all the contents on your ~/.config/retroarch/system/ dir maintaining the same structure of files. In any case, if you don't want to add them if you are going to play a game and the core needs firmware it will tell you.
Another solution more simple is to use the provided contents which sometimes include the firmware, you can found them in the Main Menu --> Online Updater --> Content Downloader --> (select the desired core) --> (select the content to download). Sometimes you can found BIOS files here like for the GameCube Dolphin 'Sys' files, or just demo contents to use with a core.
Cores
If you go to Settings --> Core --> Manage cores, you can check if they are correctly installed, if they require a specific bios, or you can also backup the core.
Conclusion
yes, this is one of these useless conclusions which says nothing from every howto on the internet suggesting you make your own choice without telling you what is better than what ![]()
RetroArch supports many features and here we have covered the most important ones, there are more options like Network playing, or streaming your games, feel free to improve this howto! ![]()